
Do you know that your bathroom is one of the essential parts of your home? Choosing the best facilities and installing them in the right place will help to improve the aesthetic look of your bathroom.
A freestanding tub is one of the facilities that will help make your bathroom more comfortable and improve its overall beauty. These tubs are made of different materials, and it is advisable to choose a tub that will last for an extended period.
Many people thought that installing a freestanding tub with a faucet on a concrete slab was very difficult. But the main story is not the same as people thought.
Installing a freestanding tub on the slab is very easy, and doing it yourself will help to reduce the cost of installation.
This article will guide you through the installation process and show you how to maintain your freestanding tub.
Tools & Materials Needed For Installing a Freestanding Tub
One important thing you need to do before installing a freestanding tub is to prepare all the necessary tools and materials needed for the job.
Gathering all the tools and materials before starting the job will allow you to finish the job on time without any delay.
The tools and materials required are:
- Bathtub
- Plumbers putty
- Level
- Protective blanket
- Damp cloth
- Pipe pieces
- Drain body
- Adhesive
- Notched trowel
- Items for cleaning
Different Types of Freestanding Tubs
Once you have decided to install a freestanding tub in your bathroom, you also need to know the different types available in the market. Check the list carefully and choose the best tub for your bathroom.
The different types of freestanding tubs include
- Footed bathtubs
- Floor-set models
- Pedestal bathtubs
- Slipper bathtubs
Things to Consider When Choosing a Freestanding Tub
Any freestanding tub you want to choose for your bathroom must be:
- Decorative
- Functional
- Compatible with your bathroom space
Installing the Freestanding Tub on a Concrete Slab
If you have decided to do it yourself, and you don’t know where to start. Follow this installation process to learn how to install a freestanding tub on a concrete slab.
Step 1: Choosing the Right Place
The first thing you need to do is to identify the best place to keep the tub. Depending on the size of your bathroom, you may decide to place it in the center beside the window.
When choosing the right place to keep the tub, the only thing you need to consider is the nearness to existing plumbing installation.
NOTE: If you are placing it far from the existing installation, you will have to do some plumbing work before starting the installation process.
Step 2: Leveling the Floor
- Since installing the new tub on a concrete slab, it is essential to level the floor. Even though the concrete slab looks even from afar, you must not skip this step. It would help if you did not assume that an uneven concrete slab will destroy the tub.
- To avoid any damage, you need to make the floor even by applying a coating on it. Inspect the areas that are uneven and apply the coating to them using a notched trowel.
- If you place the tub close to the existing plumbing installation, you won’t need to create a new channel for the drain and the plumbing trap.
- If a new bathroom is under construction or you are placing the tub far from the existing plumbing installation, you must create a channel for the drain and plumbing trap.
NOTE:
- It would help if you cleaned the floor after levelling the floor and creating the drain channel.
- You must also cover the drain hole, so that dirt and debris will not enter into it while levelling the floor.
Step 3: Attaching the Drain Tailpiece to The Tub
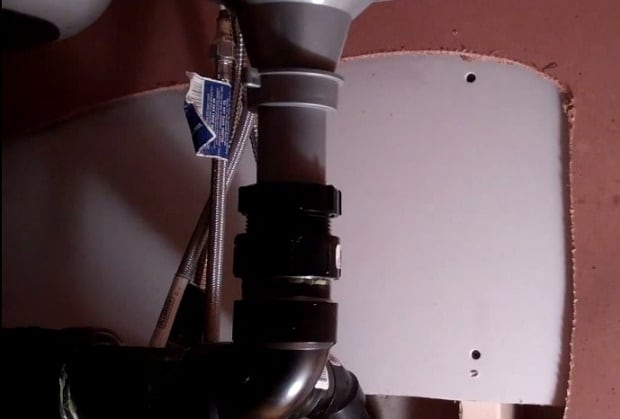
- Before placing the freestanding bathtub on the concrete slab, you need to remove the debris and dirt in the drain hole. Failure to remove the dirt and debris may cause a problem later.
- Clean the drain hole with a clean cloth, and wait for some minutes before you pour dry silicone around and into the dry drain hole.
- Attach and screw the drain tailpiece to the bottom side of the tub. You may decide to lubricate the rubber seal in the drain.
Step 4: Placing the Bathtub Carefully
- After cleaning the tub drain and attaching the drain tailpiece, you can place the tub in the place you have prepared. This process requires more patience because any mistake can easily damage your bathtub.
- Ensure that the tub corners are rightly placed. You may need to use a rubber mallet to tap it into its proper position gently.
- Ensure that the drain tailpiece in the bottom side of the bathtub aligns with the drain hole on the concrete slab.
NOTE: You need to be very careful when placing the freestanding tub so that its weight doesn’t end up destroying the plumbing drain.
Step 5: Screwing
- Before you start screwing, you need to ensure that the tub is in the correct position.
- Use the drywall screws and the cordless drill to screw the tub firmly to the wall studs.
- Go around the freestanding bathtub and repeat the same process every six inches.
- Ensure that all the drywall screws are righty placed and tightened firmly with the wall stud.
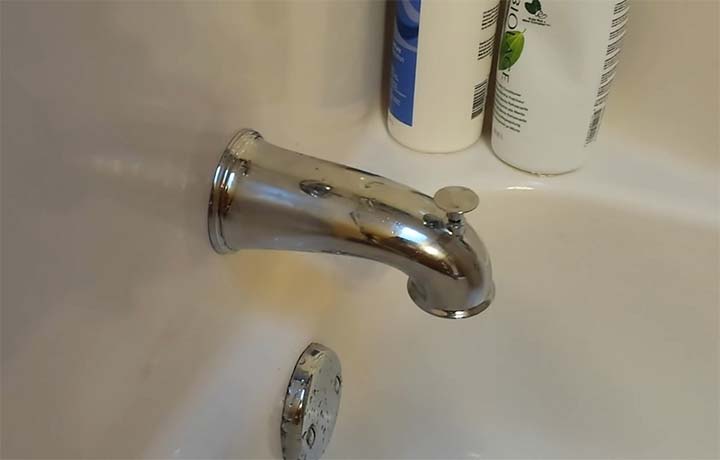
Step 6: Installing the Overflow Components
The overflow components include the overflow rod, linkage, and plunger. You need to install all these components through the overflow drain hole.
After inserting these components inside the provided hole, you will tighten them tightly with the recommended screws.
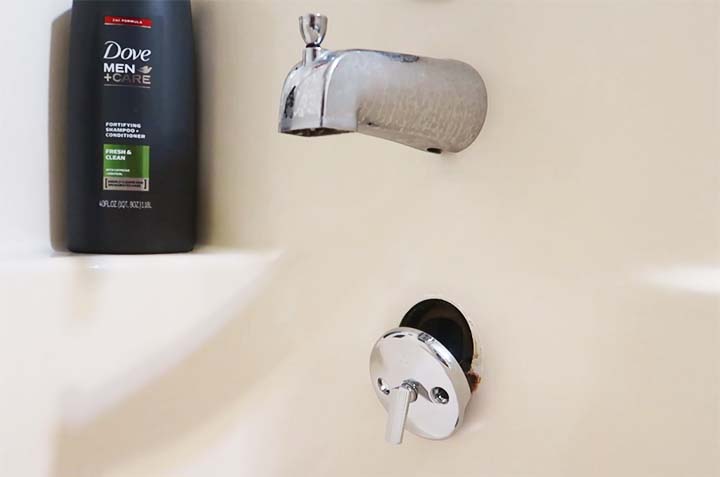
Step 7: Testing the Tub
- The installation process is complete, and the next thing to do is to test the tub.
- Fill up the freestanding bathtub with water and ensure the overflow drain and the stopper are working perfectly.
- You also need to check the screws and ensure that they are tightened correctly.
- Now, the work is complete, and the freestanding tub is ready for use.
Note: Floor Leveling Is Very Important
- Floor levelling is the first thing you need to do before you install your new freestanding tub. One important thing that you need to know is that you cannot start the installation process without levelling the floor.
- The unleveled concrete slab is one of the things that can quickly destroy your new tub. So, therefore, you need to level the floor before you start the installation process.
What You Need To Do After Installation
After installing the bathtub, you also need to secure the Spray Area. The Spray Area is the area of the nearby wall and floor around the tub that receives the water splash from the tub.
It is necessary to splash, and waterproof this area, or the continuous water splash from the tub will dampen it. To avoid wall dampening, you need to make this area waterproof by applying unique sealing materials.
Maintaining a Freestanding Bathtub
After installing the tub correctly, the next thing you need to learn is the maintenance tips. Aside from installing it correctly, another thing that will help increase the service life of your bathtub is regular maintenance.
The following tips below will guide you on how to maintain different types of freestanding tubs.
- A cleaning compound should be used for removing any light scratches and polishing the surface of the tub.
- Always inspect the drain hole to see if there is any dirt or debris in it. Remove the dirt and debris with a small stick to avoid blockage.
- Bleach solution is used for removing stains. Prepare and apply the bleach solution to the stained area. Leave it for some minutes and rinse it later with water.
- Alcohol will help to remove paint, ink, grease, and oil stains. Rub a little quantity of alcohol on these stains to remove them altogether.
- Bleach solutions alone may not be able to remove more severe scratches and stains. You will have to use fine sandpaper to remove these scratches and stains. You can also use sandpaper to repair some damaged surfaces on your tub.
- One of the things that create problems in the water heater is the presence of greasy and rusty substances in the water. So, therefore, you need to clean the tub and water heater regularly.
Frequently Asked Questions (FAQs)
Which materials are used for producing freestanding tubs?
Some of the materials used for producing freestanding tubs include fibreglass, cast iron, acrylic stone, stainless, acrylic, and copper
The most popular and functional material is pure acrylic. It has high quality, and it is affordable.
Will I get a freestanding tub that will perfectly fit my bathroom?
Yes, you will get a tub that will fit your bathroom space out of the numerous options available on the market.
Modern freestanding tubs will fit almost all design spaces because they are incredibly versatile.
Conclusion
Installing a freestanding tub will help to enhance the aesthetic look of your bathroom. Getting the required tools and materials before you commence the project will help to ease the installation process.
The installation process is straightforward, and you can easily install it even without any prior plumbing experience. This guide contains everything you need to about how to install a freestanding tub on a concrete slab.
After installing the tub, you also need to study the maintenance tips carefully. Proper maintenance will help to prolong the service life of your freestanding tub.
Continue reading this article for proper understanding.
I am James Martin, An professional plumber with more than 16 years of experience. The main purpose of my writing is to share my experiences of helping others. Be with me and explore bathroom plumbing, installation, cleanness ideas, and many more.
I couldn’t resist commenting. Perfectly written!
Thank you so much.