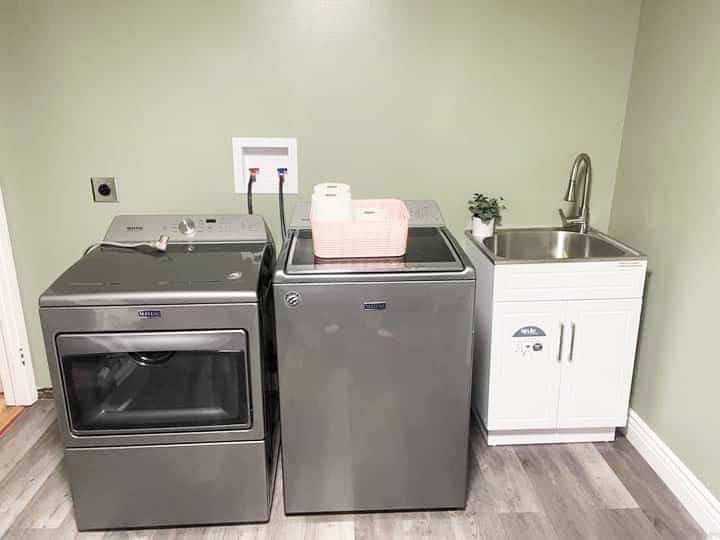
A washing machine and laundry sink are integral parts of any home. They are essential for cleaning dishes and clothes at home. As you install the washing machine, you must consider its plumbing setup. Experts suggest having the same draining for the laundry sink and washing improves the system’s utility. It also helps save money and space.
So, can you place the washing machine and laundry sink on the same drain? What are the problems of draining laundry and sink at the same water line?
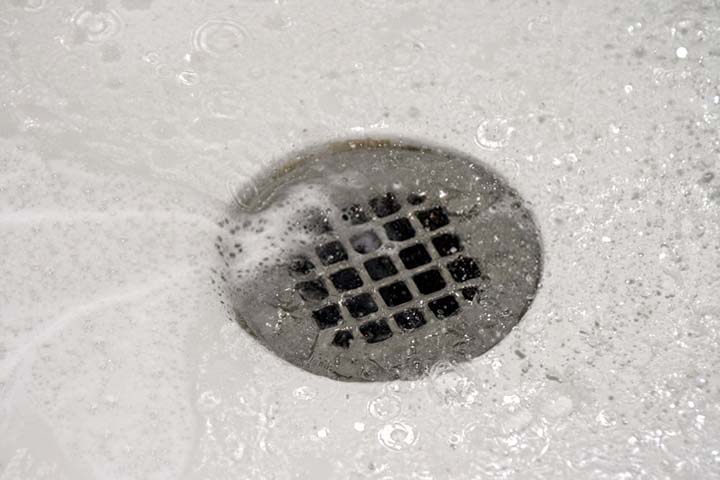
Many laundry setups will have common draining for the washing machine and sink. The water hose connects with the laundry sink as you hook it up to the washer. It will direct the water from the machine to the laundry sink. From there, it will drain into the sewage line.
Can You Place Washing Machine And Laundry Sink On Same Drain?
Plumbing system setup needs many considerations for proper installations and applications. One such consideration is the drain setup for the laundry sink and washing machine. Thankfully, you can connect the washer to the laundry sink directly. The water will then drain into the sewage line through the sink.
Additionally, you may connect the washing machine to the kitchen sink. From there, it will drain to the sewage line. However, plumbing experts don’t recommend connecting the sink and washing machine to the same drain. It increases the chance of water backing up from the drain to the sink. At worst, the water might even back up to the washing machine.
As it happens, the washing machine stops working. So, you must be careful to set up the washer and sink on same drain. If water starts backing up, you must keep a secondary plan.
Plus, you must consider the size of the tub drain. The tub drain diameter needs to be at least 3 inches or 7.62cm to accommodate a sink or laundry drain. Otherwise, it won’t drain the water, even if you attach it to the washer.
Problems Of Installing Washing Machine And Sink On the Same Drain:
While installing one drain for the washing machine and sink, you should be aware of its problems. First, it will have different shapes for the pipes. Second, their pipe size is variable too.
Different shapes for the drainage pipe:
The main problem if installing the same drain for the sink and washer lies in their utility pipe shape.
- Dryers and washing machines equipped with L-shaped drainage and water supply pipe
- Laundry and kitchen sinks, conversely, use P-shaped pipes for water supply and drainage.
Thus, this difference in their pipe shape makes it difficult for people to connect them on the same drain. You must find a way to combine these two different shapes of pipes. Otherwise, you will have difficulty draining the washer’s water. The washing machine may drain slowly. It will affect the cleaning facility of the machine.
Different sizes of drainage pipes:
The second problem of placing the washing machine and laundry sink on the same drain lies in the difference in pipe size. Yes, utility, laundry, and kitchen sink usually have 1-inch to 2 inches drainage pipe. On the other hand, washing machines and dishwashers will have a larger diameter for the draining tubes. It is crucial because the washing machine needs to drain more water.
So, its pipe requires a larger diameter to drain more water. Also, it improves the draining flow. Sadly, the small pipes of the sink with their fewer diameters can’t carry so much water shortly. It brings the washer to a standstill position.
Henceforth, you must check the draining pipe diameter. You can share the identical drain for the laundry sink and washing machine if they have similar pipe sizes. Alternatively, you can choose a compatible pipe for both setups.
Tips On Connecting Washer And Sink On Same Drain

We have discussed all possibilities and problems of sharing the same drain for the sink and washer. Keeping it in mind, let’s see the ways to connect them.
You will need the following items:
- Y-fitting tube
- Reciprocating saw
- Utility knife
- Primer and solvent glue
- 90-degree elbow and pipe trap
- 2-inch standpipe with trap
- 2-1/2-inch deck screws
- 1/2-inch screws
After gathering all the tools and parts, proceed to the following steps.
Step 1: Planning for the Y-fitting setup
Calculate the Y-fitting’s length and subtract 1 inch from it. It will help you know the accurate space required to mount the Y-fitting tube. Then, plan where you want to install the Y-fitting on the drain pipe on the wall.
Use the marker to outline the drain pipe with accurate measurements. Ensure that the lines are straight and accurate.
Step 2: Attach the Y-fitting
After finding the correct location of Y-fitting on the drainage system, you must cut it accurately. Use the reciprocating saw to cut the drain pipe. It should accommodate the Y-fitting adequately. There will burr from the pipe. Use the utility knife to remove the burrs.
Now, there will be two pieces of draining pipe. Dry-fit the divider Y-fitting into it. The opening of it should be parallel and on the front side of the drain pipe. If you have difficulty installing the Y-fitting, cut the drain pipe slightly.
Step 3: Secure the Y-fitting
You must secure the Y-fitting tube with the laundry sink drain. Otherwise, it may fall or start dripping water. For this, use the solvent glue and primer. As you open the solvent glue, you should find a swab with it.
With the swab, carefully clean the drain pipe’s edges and Y-fitting. If there are any spatter or burrs, the solvent glue won’t stick to it. Then, apply the solvent glue and secure the two parts.
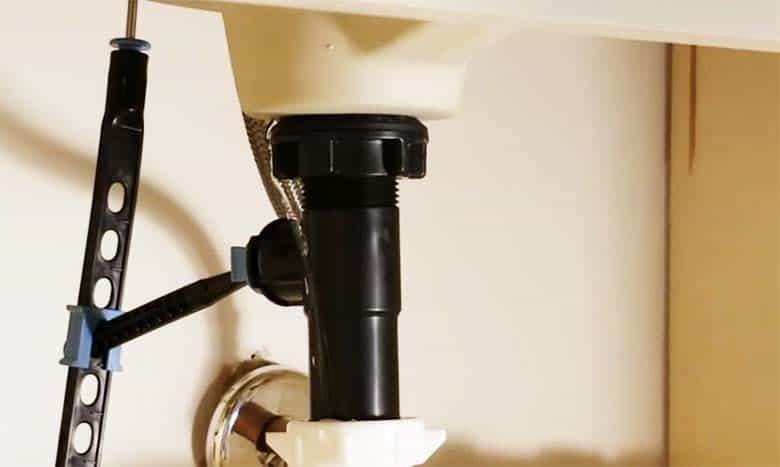
Step 4: Attaching standpipe and 90-degree elbow
Locate the Y-fitting opening and connect the 90-degree elbow to it. Also, use a strap to attach the elbow to the standpipe. Viewing the trap and elbow installation, it looks like three-quarters of a circle. As you install the standpipe, it creates a vertical axis with the laundry sink.
Now, measure the floor to standpipe distance and mark at 34-inch height. Now, cut the pipe with accurate measurements. It is crucial to install it correctly with the drainage system. Water will back up to the washing machine if the standpipe height is less than 34 inches. As a result, it would stop working.
Step 5: Secure the standpipe to finish off the task
By this time, the Y-fitting should connect with the drain pipe securely. So, remove its dry fit. Now, fasten the standpipe to the wall. The pipe strap will be 2 inches above the standpipe. Use the ½ screws to hold the pipe against the wall with adequate force.
Follow the GE appliance’s diagram for proper setup of the standpipe, washer draining pipe, and laundry sink.
This way, you can utilize the same drain for the laundry sink and washing machine. Since it runs the risk of water backup up, ensure a 34-inch height for the standpipe. It eliminates the backing-up problem. Also, use pipes with a similar diameter to ensure proper water flow.
I am James Martin, An professional plumber with more than 16 years of experience. The main purpose of my writing is to share my experiences of helping others. Be with me and explore bathroom plumbing, installation, cleanness ideas, and many more.