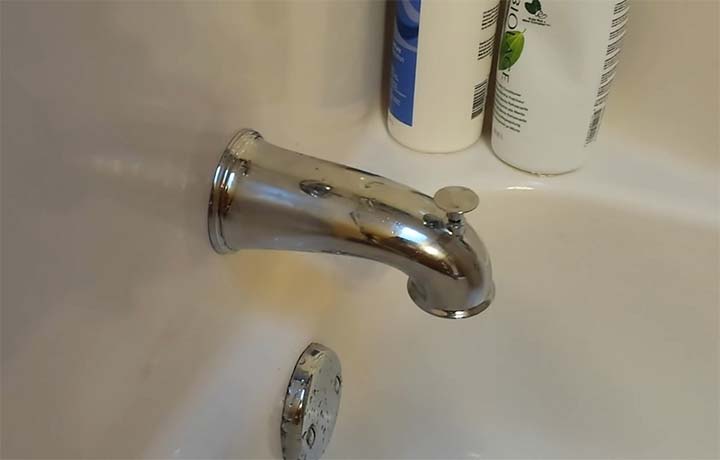
The tub drain of the bathtub connects with the waste pine to drain the tub and stop the overflow. However, the connection doesn’t come pre-assembled from the manufacturer. So, it would be best if you connected the tub drain with the actual waste pipe in your bathroom.
Thankfully, the process is easy too. Anyone with minimum knowledge of plumbing can perform the task of connecting the waste pipe with the tub drain. This guideline on connecting tub drain to waste pipe will surely add value for you in this regard.
We have shown the steps to connect these two different segments of the bathtub draining system so that a DIY plumber can perform the task with ease. So, let’s see the steps.
Understanding the Tub Drain Mechanism
Before we head directly into the tub drain connection with the adjacent waste pipe, you need to understand the tub drain mechanism properly. Also, you should know the ins and outs of the tub drain kit to install it securely.
The tub drain kit has two separate parts. It includes:
- The drain basket: It is designed to attach with the drain shoe.
- The drain overflow: This part of the tub drain kit will attach to the drain shoe pipe.
You need to connect these separate parts of the tub drain kit properly. Only then will it run directly into the drain waste pipe. The waste pipe then leads to the main sewerage line. Sometimes it will connect with the septic drainpipe as well, depending on your house design.
Thankfully, you can connect the parts of the tub drain and then with the waste pipe with basic knowledge on plumbing. Also, you can accomplish the job with simple tools that include a screwdriver, adjustable wrench, and adhesives only.
Tips on Connecting Tub Drain to Waste Pipe
Connecting the waste pie with the tub drain is necessary to prevent the tub’s overflow and avoid messes on the bathroom floor. The good thing is that this connection can be made at home without any professional plumbers. Thus, the DIY attachment guideline will help you save a good amount of money as plumbers aren’t available at cheap pricing.
Step 1:
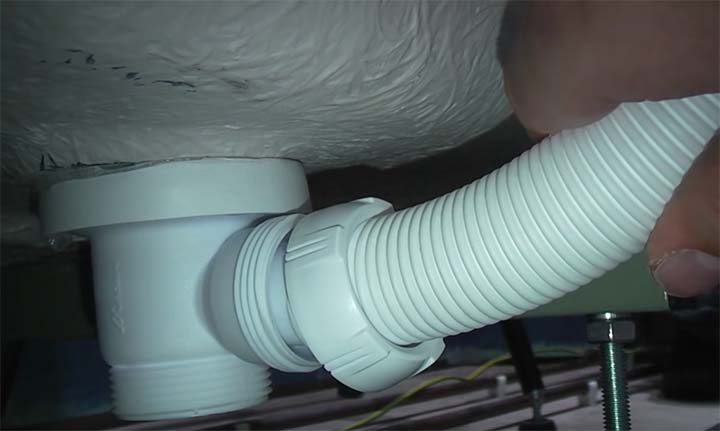
First, you need to attach the “T” connector pipe with the overflow pipe. The overflow pipe should attach the T connector top. You will find a large opening at the “T” connector pipe top. You need to slide in the overflow pipe through this expanded opening.
Next, find the drain shoe extension and connect it loosely with the “T” connector using the slip nut. The “T” opening features a 90-degree angle, and the drain shoe extension will securely fit into it. There will also be a non-expanded pipe into the lower part. This lower pipe will then attach to the drain pipe. Finally, tighten the slip nut only loosely to hold the two pipes securely.
At times, the pipes may be a bit longer. If so, you can cut them using a small hacksaw. So, you won’t find difficulty in fitting the two pipes securely.
Step 2:
Now, it’s time to work with the rubber gasket to secure and accurate the pipe connection. Find the point between the drain hole’s underneath along with the drain shoe. When you install the rubber gasket, you will get a perfect seal for the tub and drain shoe.
After that, you need to hold the drain shoe of the entire kit right underneath the tub drain part. Now, use the screws to attach it right with the drain basket. However, you need to apply silicone underneath the drain basket rim, and then you have to screw the connection securely.
Find the cross-hair of the kit close to the drain basket and insert the pliers set right through it. Turn the pliers set to fix the drain basket right into its place appropriately. Then, you have to tighten it with the connected drain shoe. Make sure you don’t over-tighten the connection; otherwise, the threads will get damaged.
Step 3:
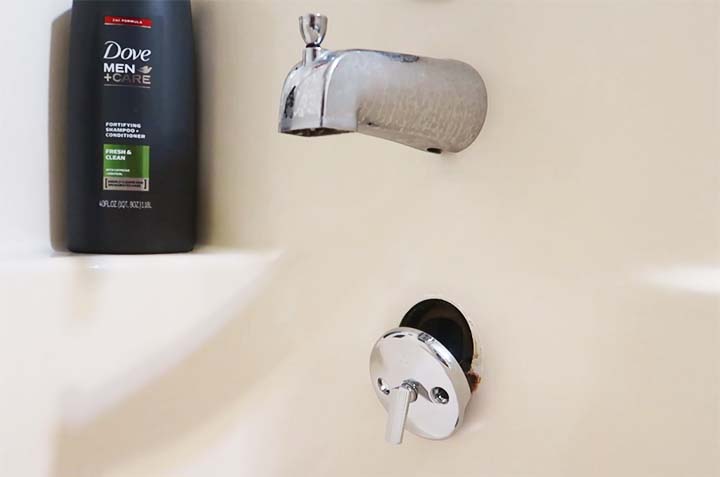
Now, you have to insert the rubber gasket on the opening point between the bathtub and the overflow pipe. It secures the connection. The stopper should slide into the overflow pipe. Then, it will connect with the overflow cover linkage.
For this connection, you may use:
- Cotter pin
- Spring clip
Also, after connecting the linkage with the stopper, you might need to adjust it until the stopper plugs accurately into the drain hole. The appropriate plugging in of the stopper is essential to measure the overflow mark on the bathtub. Or else it will overflow and flood the bathroom floor.
Step 4:
Find the two screws on the overflow pipe flange and cover. Then, tighten the screws for a secure connection between the overflow pope and its cover. You can use a screwdriver for the tightening job perfectly.
Now, you have to tighten the slip nuts. Make sure you tighten them as firmly as possible without damaging the thread of it. Modern-day slip nuts can be tightened easily with bare hands. But we recommend you use a set of pliers for a perfect tightening process. Also, it makes the connection of the slip nuts leak-proof.
Step 5:
This is the final step of connecting the tub drain to the waste pipe. Start by adjusting the stopper. It should pug the drain correctly. Now push the handle. The stopper will prevent water drainage. Finally, connect the part of the tub drain kit underneath the tub with the waste pipe. You don’t need to use any screw or pliers set for it. Just make sure the connection runs down the waste pipe accurately.
Now, you have to check the installation success of the tub drain. For this, turn on the tub faucet and fill the bathtub about one-fourth quarter. Check the draining rate of the water-filled bathtub. If the stopper is down and still water drainage, you need to lower the linkage position. It allows the stopper to sit a bit lower.
For this, you need to pull out the linkage and stopper by unscrewing the overflow plate cover. After remounting the entire setup, check the drainage again. If the stopper installation is done accurately, it will stop drainage of the tub water.
Now, make sure the overflow mark is mounted properly. When the water reaches above the overflow sign, the stopper should allow the excess water to run through the drain pie right into the waste line for a quick draining facility.
Final Words
A bathtub is part and parcel of the modern-day bathroom. It allows you to bathe comfortably with a relaxed feel. However, the bathtub needs to function properly for such enhanced comfort. Sadly, tubs face different inconveniences, and overflowing is one of its major concerns.
Thus, you need to connect a drain pipe with it to solve the problem. This guideline on connecting tub drain to waste pipe for a perfect drainage system of the bathtub will be useful for you. Usually, connecting the waste pipe with the drain and to the main sewerage may seem difficult. But, it will become easier once you follow our instructions properly. Last but not least, adjusting the stopper at the proper height will require multiple trial and error sessions. So, please don’t get frustrated when it happens. The hard work will be worth the result.
I am James Martin, An professional plumber with more than 16 years of experience. The main purpose of my writing is to share my experiences of helping others. Be with me and explore bathroom plumbing, installation, cleanness ideas, and many more.